
Desserts
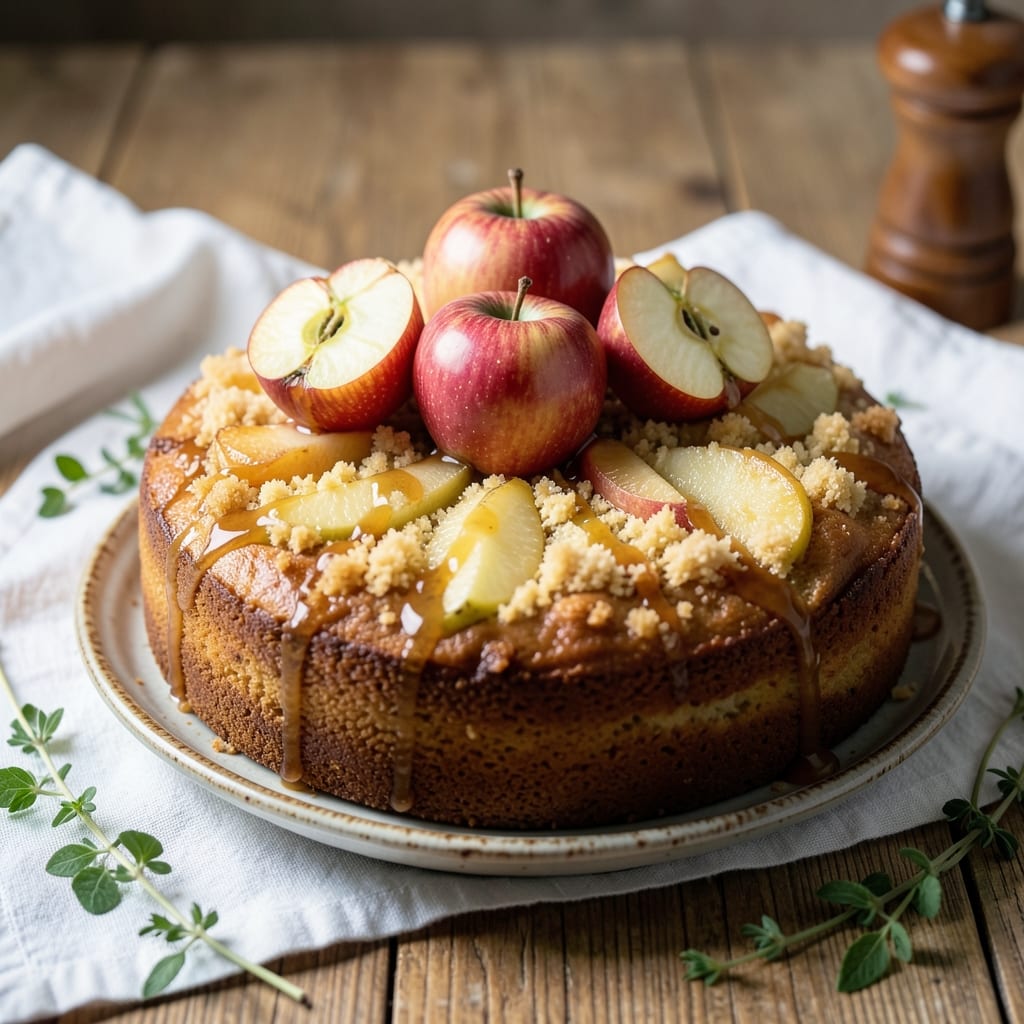
This apple cake recipe with self-raising flour delivers a moist, tender crumb that perfectly complements spiced apple chunks—no fuss, just pure comfort. ✨ The secret lies in balancing sweetness and acidity while letting the flour's built-in leavening create that signature lightness. I've baked this version countless times, and it never fails to impress with its harmonious blend of textures and flavors.
The beauty of using self-raising flour here is the effortless rise and delicate crumb—no need for extra baking powder or sifting. You'll work with just 10 ingredients (plus apples) to create a cake that's rich enough to stand alone or pair beautifully with vanilla ice cream. The apples stay tender yet distinct, releasing their natural juices that keep the cake wonderfully moist.
What makes this recipe truly special is the spiced harmony—cinnamon and nutmeg warm the apples while vanilla rounds out the flavors. The result is a cake with a golden top, a tender yet sturdy crumb, and just the right balance of sweet and tart. Every slice reveals pockets of spiced apple that practically melt in your mouth.
Perfect for weekend baking or holiday gatherings, this apple cake comes together in under 20 minutes of prep with 45 minutes of baking time. The best part? It tastes even better the next day, making it ideal for meal prep or gifting. Let's get baking!
Ingredients for apple cake recipe self raising flour
Ten simple ingredients transform into a moist, spiced apple cake with tender crumb and perfect harmony.
| Ingredient | Amount | Notes |
|---|---|---|
| Self-Raising Flour 🌾 | 2 cups | Ensure it contains baking powder |
| Granulated Sugar 🍚 | 1 ½ cups | White or light brown sugar |
| Unsalted Butter 🧈 | 1 cup | Softened to room temperature |
| Large Eggs 🥚 | 2 whole | Room temperature preferred |
| Vanilla Extract 🍯 | 1 tbsp | Pure vanilla extract preferred |
| Apples 🍎 | 4 medium | Peeled, cored, and diced |
| Ground Cinnamon 🌿 | 1 ½ tsp | Freshly ground for best flavor |
| Ground Nutmeg 🌿 | ½ tsp | Freshly grated preferred |
| Lemon Juice 🍋 | 1 tbsp | Freshly squeezed |
| Salt 🧂 | ½ tsp | Fine sea salt preferred |
Self-raising flour is the star here—King Arthur or Betty Crocker brands are my go-tos for consistent results. The flour's built-in leavening means no extra baking powder or sifting, saving you time. For the apples, Granny Smith or Honeycrisp hold their shape beautifully when baked, but any firm apple works. Look for apples that are firm to the touch with no bruises. The butter should be soft but not melted—press a finger into it; it should leave a slight indentation.
No vanilla extract? Vanilla bean paste or even a scraped vanilla bean works in a pinch. Short on cinnamon? Pumpkin pie spice at half the amount gives a similar warmth. The apples should be uniformly diced—about 1/2-inch pieces—to ensure even cooking. If you're using pre-peeled apples, rinse them first to remove any surface starch. The lemon juice brightens the apples and balances sweetness, but if you're out, apple cider vinegar at the same amount does the trick.
Store any leftovers in an airtight container for up to 3 days at room temperature, or 1 week in the fridge. For longer storage, slice and freeze the cake for up to 3 months. I like to wrap it tightly in plastic wrap before freezing. The cake reheats beautifully—just pop slices in the oven at 350°F for 5-10 minutes to restore moisture. Perfect for meal prep or gifting!
Why You'll Love This Recipe
- No Mixing Madness: I swear by this recipe because it’s literally three bowls and a whisk—no sifting, no measuring cups, no stress. Self-raising flour does all the heavy lifting, so you’re just folding in tender apples and creamed butter. Honestly, I’ve made it in my daughter’s tiny kitchen while she “helped” (aka dumped sugar everywhere).
- Butter-Soft Magic: That rich, unsalted butter mixed into the flour until it’s almost crumbly? It melts into the cake just enough to keep it moist but not dense. Add the vanilla and warm apples, and you’ve got a crumb that’s fluffy enough to eat with a spoon—no dry bites here.
- Weeknight Workhorse: Slice it fresh for breakfast with a drizzle of honey, or bake it ahead and freeze slices for school lunches. It’s my go-to for potlucks too—no one ever leaves with a plate full. Between us, I’ve even served it at book clubs (yes, even on a Tuesday night).
- Budget-Friendly Luxury: You’re using pantry staples—no specialty ingredients, no last-minute grocery runs. A single cake feeds six, and leftovers? They’re even better the next day, toasted with a sprinkle of cinnamon. My secret weapon for when I need something impressive but cheap.
Step-by-step instructions for apple cake with self-raising flour
Here's the method for a perfectly moist apple cake with tender crumb and warm spice notes.
👨🍳 Step 1: Prepare the Apples and Preheat the Oven
Peel, core, and dice the 4 medium apples into ¼-inch pieces. Toss them in a bowl with the 1 tbsp lemon juice and 1.5 tsp ground cinnamon—this prevents browning and infuses flavor. Let them sit for 10 minutes while you preheat the oven to 350°F.
I like to use a mix of sweet and tart apples like Honeycrisp and Granny Smith for balance. The lemon juice also brightens the apples' flavor and keeps them from turning mushy during baking. While you wait, grease an 8-inch round cake pan or line it with parchment paper for easy removal.
🍳 Step 2: Cream Butter and Sugar Together
In a large mixing bowl, beat the 1 cup softened unsalted butter and 1.5 cups granulated sugar together on medium speed for 3-4 minutes until light and fluffy. You're looking for a pale, creamy mixture that nearly doubles in volume—this incorporates air for a tender crumb.
This step is crucial for a moist cake. If your butter isn't softened enough, the mixture will be grainy, and if it's too soft, it'll separate. Press your finger into the butter—it should leave a slight indent but still hold its shape. If your kitchen is warm, chill the bowl for 10 minutes before mixing.
👨🍳 Step 3: Mix in Eggs and Dry Ingredients
Add the 2 whole large eggs, one at a time, mixing well after each addition. Then stir in the 1 tbsp vanilla extract and 0.5 tsp salt. In a separate bowl, whisk together the 2 cups self-raising flour and 0.5 tsp ground nutmeg—this keeps the flour from absorbing too much moisture from the butter.
Gradually fold the dry ingredients into the wet mixture using a spatula, mixing just until combined. Avoid overmixing—you should still see small flour streaks. The self-raising flour contains baking powder, so don't add any extra leavening. Gently fold in the prepared apples and their juices, reserving any excess liquid.
🥘 Step 4: Bake Until Golden and Springy
Pour the batter into your prepared cake pan and smooth the top with a spatula. Bake in the preheated oven for 45-50 minutes until the top is golden brown and a toothpick inserted in the center comes out clean. The cake should also spring back slightly when pressed gently in the middle.
Real talk: Your oven might run hot, so start checking at the 40-minute mark. If the edges brown too quickly, loosely cover the pan with aluminum foil. The cake is done when it pulls away from the sides of the pan and has a rich, caramelized aroma. Let it cool in the pan for 15 minutes before transferring to a wire rack.
⏰ Step 5: Serve Warm for Maximum Moisture
Serve the cake warm or at room temperature for the best texture. The warm cake has a slightly softer crumb that melts in your mouth. Dust with powdered sugar or serve with a dollop of whipped cream if desired. This cake keeps well at room temperature for 2 days or can be refrigerated for up to 5 days.
For extra moisture, brush the warm cake with simple syrup (equal parts sugar and water, heated until dissolved). This step isn't necessary but takes it to the next level. The spiced apple filling should be tender but not mushy, with pockets of juicy apple throughout each bite.
Pro Tips For Making Apple Cake Recipe Self Raising Flour
- Cream Butter Slowly: Beat the butter and sugar together until it’s light and fluffy—about 3-4 minutes with an electric mixer. I used to rush this step, and the cake turned out dense. Take your time; the air you incorporate now keeps the crumb tender later.
- Use Room-Temp Eggs: Pull eggs out of the fridge 30 minutes before mixing—no, don’t microwave them. Cold eggs can cause the batter to separate or sink in the middle. Room temperature eggs blend smoothly and help the cake rise evenly.
- Don’t Overmix Apples: Toss sliced apples with a little sugar and cinnamon, but resist the urge to mash them into the batter. Big chunks add texture, and a light fold keeps the cake from getting heavy. Think "apple streusel" vibes, not apple sauce.
- Test for Doneness Early: Start checking the cake at 30 minutes—even if the recipe says 40. The edges might look set, but the center should spring back when gently pressed. Overbaking dries out the cake faster than you’d think, especially with self-raising flour.
Pro cooking tips for this dish
Butter Softness Test
Your butter's temperature is the secret to a tender crumb. Press your finger into the 1 cup softened unsalted butter—it should leave a slight indent but still hold its shape. If it's too firm, let it sit at room temperature for 10-15 minutes longer. If it's too soft and greasy, chill the bowl for 10 minutes before mixing. I've ruined cakes both ways, trust me! 🧈
Flour Handling Trick
Self-raising flour contains baking powder, so measure it carefully by spooning it into the cup and leveling with a knife—don't scoop directly from the bag. Weighing it ensures accuracy, but if you're measuring by volume, 2 cups should be about 250 grams. Sift the flour lightly with the nutmeg before folding it in to prevent lumps and distribute the leavening evenly.
Apple Prep Matters
Uniform apple pieces are key—dice them to ¼-inch cubes for even cooking. Use a mix of sweet and tart varieties like Honeycrisp and Granny Smith for perfect balance. Toss the apples with lemon juice immediately after dicing to prevent browning and enhance flavor. Let them sit for 10 minutes while you preheat the oven—they'll release juices that keep the cake moist. 🍎
Batter Consistency Check
Your batter should be thick but pourable, with small flour streaks visible when you fold in the apples. If it's too thin, add 1-2 tablespoons more flour. If too thick, mix in 1 tablespoon apple juice or milk. Remember, overmixing develops gluten and makes the cake tough. Stop folding when the batter just comes together—this ensures that tender crumb we're after.
Oven Temperature Tip
Preheat your oven to 350°F and let it fully acclimate for 15 minutes before baking. If your oven runs hot, start checking the cake at 40 minutes—the edges brown faster than the center. For even baking, place a baking sheet on the lower rack to reflect heat upward. The cake is done when it springs back slightly when pressed and a toothpick comes out clean. 🌡️
Cooling Strategy
Let the cake cool in the pan for 15 minutes before transferring to a wire rack. This prevents cracking and helps the cake set properly. For extra moisture, brush the warm cake with simple syrup (equal parts sugar and water, heated until dissolved). This step is optional but makes a noticeable difference in keeping the cake tender for days. Store leftovers in an airtight container at room temperature.
Nutrition facts
Frequently asked questions
Can I substitute self-raising flour with all-purpose flour in this recipe?
Yes, but you'll need to add 2 teaspoons baking powder per 2 cups of all-purpose flour to match the leavening in self-raising flour. Sift the flour and baking powder together first to distribute the leavening evenly. The texture will be slightly denser than with self-raising flour, but still delicious!
What's the best way to store leftover apple cake?
Wrap tightly in plastic wrap or store in an airtight container at room temperature for up to 3 days. For longer storage, refrigerate for 5 days or freeze slices for 3 months. To reheat, warm in the oven at 350°F for 5-10 minutes until just heated through—this restores moisture better than the microwave.
Can I make this cake without apples? What other fruits work?
Try pears (use 3 ripe ones), blueberries (fold in at the end), or cherries (pitted and halved). For tropical versions, mango or pineapple work beautifully. Just reduce any extra liquid by 2-3 tablespoons if using very juicy fruits like berries. The spice blend stays the same—just adjust sweetness to match your fruit's natural sugar level.
Why did my cake turn out dense instead of moist?
Overmixing is the most common cause—stop folding when just combined to avoid developing gluten. Also check your butter (should be soft but not melted) and don't overbake (start checking at 40 minutes). If your flour was packed into the cup, it's too dense—spoon and level it instead. For extra moisture, brush warm cake with simple syrup (equal parts sugar and water).
How do I adjust this recipe for a smaller cake pan?
For a 6-inch pan, reduce all ingredients by 50%. For an 8-inch square pan, use the same batter but bake at 325°F for 35-40 minutes instead. Always grease pans well and bake until the center reaches 200°F internally. The baking time may vary slightly by pan material—glass takes about 5 minutes less than metal.